
Last updated on March 23, 2026 2:20 am
Wondering how to level pictures on the wall?
Not every homeowner knows the secret of how to use a laser level to hang picture frames for the first time.
When you are obsessed with making everything perfect at home, you will come across little projects such as hanging pictures on the wall.
According to Aaron Barnett of BangingToolbox: And you might have just discovered that using a laser level for interior layout can get this job done construction grade perfectly.
You know, there is more to hanging pictures than just hammering a hole for picture frames on the wall. When you try to achieve a consistent design on your wall, you do not simply pick a location and hammer a nail.
When considering aesthetics, with the possibility of adding more frames, you need to hang your wall decorations like a professional.
A laser level is one of the secrets to aesthetically pleasing galleries. And you can bring this to your home walls too. Especially with a cheaper USB-charged laser level.
This guide will show you how to do laser leveling to hang pictures or wall art like a professional.

Why do you need to level your picture frame?
We get this question most of the time from DIY’ers.
If you just started DIYing things at home, you probably ask why a simple home project like hanging a picture frame needs leveling. Here they are:
- To achieve a perfect alignment for single or multiple picture frames
- To achieve better home layout aesthetics
- To add professionalism and attention to detail
- To avoid distortion
- For added stability

What is the laser level type used for hanging pictures?
Going through the list of laser levels available on the online marketplace can be overwhelming if you don’t know what to look for.
There are multiple laser-level types. And you must pick one that would help you align pictures but not cost what a chippy would pay for what they need to do.
So here’s the tip:
If you will hang picture/s on one wall, use a straight horizontal line laser level. It strikes one straight-level laser beam, and one vertical-level beam; only these two lines would be fine.
If you will hang multiple pictures in one room and multiple walls, use a 360° laser line level for convenience. It will help you see the alignment of the pictures in 360° view without worrying about re-aligning multiple times.
However, I find a 180 deg laser line pretty easy to rotate, making sure to check the height has remained the same, with a marking on the wall from the previous leveling direction.
Tip: Use painter’s tape to avoid marking walls permanently.

How to use a laser level for hanging pictures?
Using a laser level could be intimidating at first. But it’s pretty easy and safe, it will not cut anything like a lightsaber!
Step 1 Prepare your tools.
For leveling, you will need a
- Laser Level
- Pencil
- Screws, nails, wall anchors, or picture hangers
- Hammer or drill
- A measuring tape
- Painters tape, for temporary reference lines

Step 2 Decide where to hang your picture frame.
Plan and decide which spot to mount the picture/s, with the hole on the top of the frame in mind. Yup! Where those nails or screws will hook up.
Picture the alignment on the wall.
If you are placing pictures on a staircase wall, the alignment is diagonal.
Consider the number of pictures you will hang and create an equal spacing in height difference.
For multiple pictures, take note of the distances between each one.
Use a measuring tape and a calculator to divide the distance equally and mark out the equal spacings.
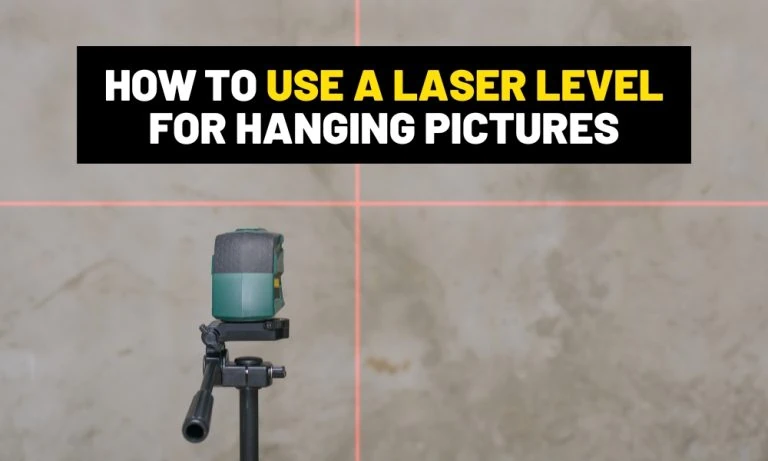
Step 3 Prepare your laser level.
- Place your laser level on a tripod.
- Turn it on and wait for it to self-level after releasing the pendulum. Line laser levels are self-leveling.
- Choose the modes: point, line, or cross-line. This step helps you view the entire picture of where your frames will go.
- Don’t forget to test your laser level for accuracy. It will help you save time realigning the pictures after mounting them if the tool is out of wack.
Step 4 Start leveling.
Once you have tested the accuracy of your laser level, start aiming toward your desired position. With the correct mode (line or crossline), start measuring distances and mark their placement on the wall.
By projecting a perfect level line to work from. Or measuring from the level line to create equal height spacings for each picture, mirror, or piece of artwork for a staggered layout, or staircase layout.
Turn your laser level off.
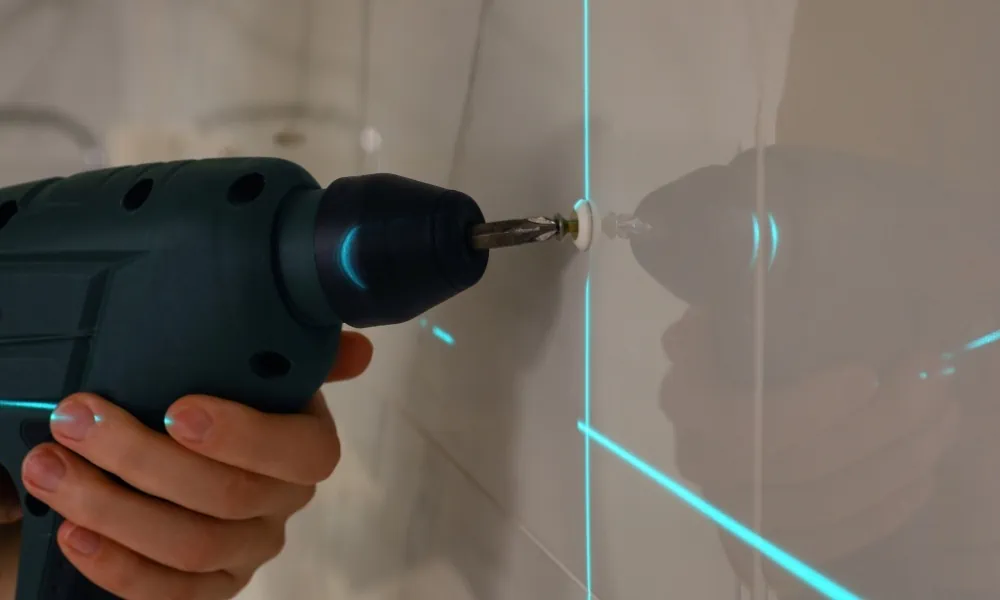
Step 5 Hammer or drill the hole.
If you have a drill, you can easily drill to create a hole.
If not available, you can use your Estwing or Stilleto hammer to tap a nail into the wall.
If you will hang the picture on drywall, consider the weight capacity and use the right drywall anchors.
Also, don’t forget to consider the mounting mechanism of the frame. Some frames have one-hole or edge-to-edge mounting mechanisms.
For concrete walls, you will need wall plugs to secure the frame. If you are choosing between nails or screws, screws will hold more securely.
Otherwise, nails could hold your frame if you slant the nail downwards to stop it from easily pulling outwards.
Step 6 Mount the picture frames.
As soon as you have created the wall layout and fixed the hooks, screws, or nails, mount the frames and give them a final look of perfection.

More tips to hang your picture like a professional
- Use a stud finder if the picture frame is heavy. This step will ensure that you are hitting solid framing behind the wall. A stud is an ideal support for all but especially heavier frames, without specialty screws that have a clamping mechanism.
- Choose the right fixing to support your frame’s weight.
- Two hooks on both edges will help support the frame evenly to stop tipping.
- Hang your pictures at eye level in most cases.
- Don’t forget to measure the distances between the frames.
- Use a 360° laser level for multiple walls.
- Consider the height and distance of other objects hanging on your wall.

To finish the guide
Modern homeowners today are getting more aware of how their interiors look after the carpenters have finished building or renovating their homes.
A simple alignment of objects on your walls, like wood art, picture frames, or shelves, affects the overall look of your home.
Good thing you came across this guide, as a laser level is for DIY’ers, what google is for office workers.
If you ever have to mount other objects on the wall, you may have to invest in a more reliable laser level.
Plan your home’s interior and get your TV wall mount, bookshelves, and wooden artwork aligned yourself professionally!


