
- Key Takeaways
- I won’t be confident in my cabinetry until I use my laser level.
- Laser level appropriate for kitchen cabinet installation
- Step 1 Prepare your tools.
- Step 2 Assemble your cabinets.
- Step 3 Set up your laser level.
- Step 4 Measure and mark.
- Step 4 Establish a reference line.
- Step 5 Check for studs.
- Step 6 Install the ledger boards or rails.
- Step 7 Check the walls if they are plumb and level.
- Step 8 Install the cabinets.
- Step 8 Finish your installation.
- Final word from Banging Toolbox
Last updated on November 12, 2023 7:34 pm
Key Takeaways
- The best laser level for kitchen cabinet installation is a cross-line laser level.
- Measuring and marking are the crucial steps for plumb, level, and square kitchen cabinets.
- You must take the highest point for installing base cabinets and the lowest point for installing upper cabinets.
I won’t be confident in my cabinetry until I use my laser level.
Aaron Barnett of BangingToolbox suggests: I only have to set it up to my pre-determined height, and everything follows. A laser level produces a clear view of my reference point continuously, and I’ll never be lost.
Cabinets have to be plumb, level, and square. The last thing you want is to have it look funny after all your effort installing them.
For this reason, marking crucial lines and establishing a leveled reference point from the very start will help you avoid future mistakes.

No one wants misaligned cabinets. They will ruin your home’s aesthetics.
So, I make sure to lay out those lines properly with a reliable laser level.
Set the laser level on a stable surface nearby and project a horizontal beam to measure heights from.
Attach the cabinets, and that’s it.
I understand you know it’s not that simple. So, keep reading, and we’ll show you how to use a laser level to install kitchen cabinets.

Laser level appropriate for kitchen cabinet installation
The crucial job you have to do is to make a perfect layout for kitchen cabinets. Decide where the base cabinets go and where to hang the upper ones.
For this job, I prefer using a cross-line laser level, and it is the best choice for me.
I love how I can check the cabinet’s squareness in one go because this laser level emits horizontal and vertical lines.
Although you can use a rotary laser level, the lines are not fixed because it is spinning. You will benefit from the clear and crisp lines better from a cross-line laser level.
Another choice is the 2-in-1 auto-leveling laser with stud sensors. It emits a laser line from left to right.
You can check for studs, make a reference line, and leave the device on the wall, leaving your hands free while drilling.
It’s useful for hanging shelves, pictures, and cabinets.

Check out how we tested the smallest laser level here.
Step 1 Prepare your tools.
Here’s what you’ll need when installing kitchen cabinets:
- Laser Level
- Stud finder
- A mounting rod or tripod
- A laser level bracket
- Tape measure
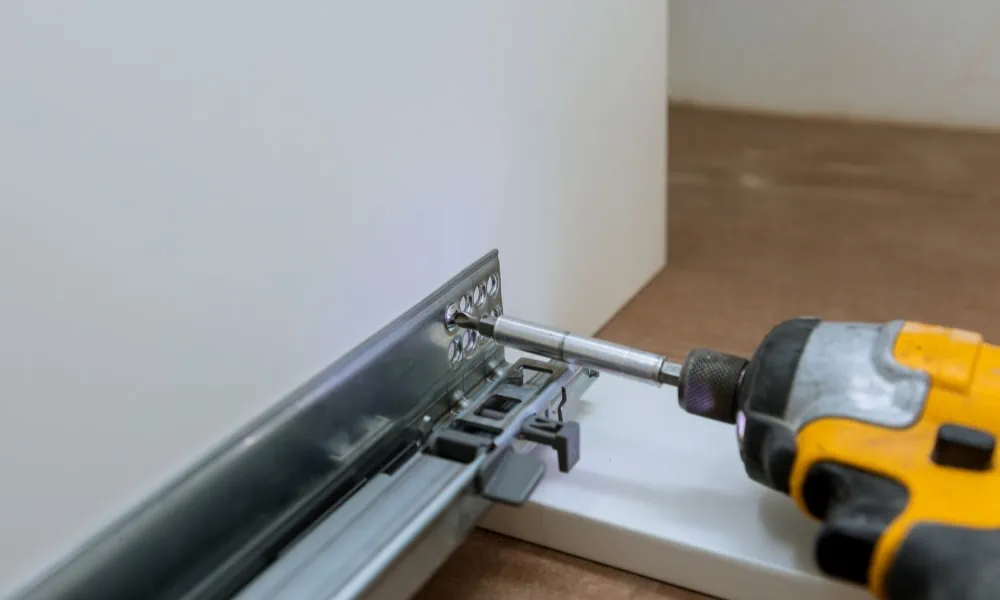
- A cordless drill
- An impact driver
- Cabinets
- A framing hammer
- Markers and tape.
- Cabinet jacks
- Wood clamp if you don’t have cabinet clamps
- Cabinet jack (for installing wall cabinets)
- A ledger board or 2 x 4 timber in the length of your assembled cabinets
- A step ladder

Step 2 Assemble your cabinets.
Allocate a working space to assemble the cabinets. Unpack the cabinets and check for missing parts like screws and hinges.
Although I have done this many times in my building career, I would still read the instructions and layout, as every cabinet design and every joiner may have a different system.
For wall cabinets, you can leave the door until the cabinet is hung on the wall.
But make sure to check if the assemblies are square, plumb, and level. It is crucial to ensure the doors will close properly.
Step 3 Set up your laser level.
Attach your laser level to the bracket and mount it on the tripod. When ready, turn it on and wait for it to level automatically. To ensure the level of the laser beams projected, use these steps to check your laser level’s precision.
Step 4 Measure and mark.
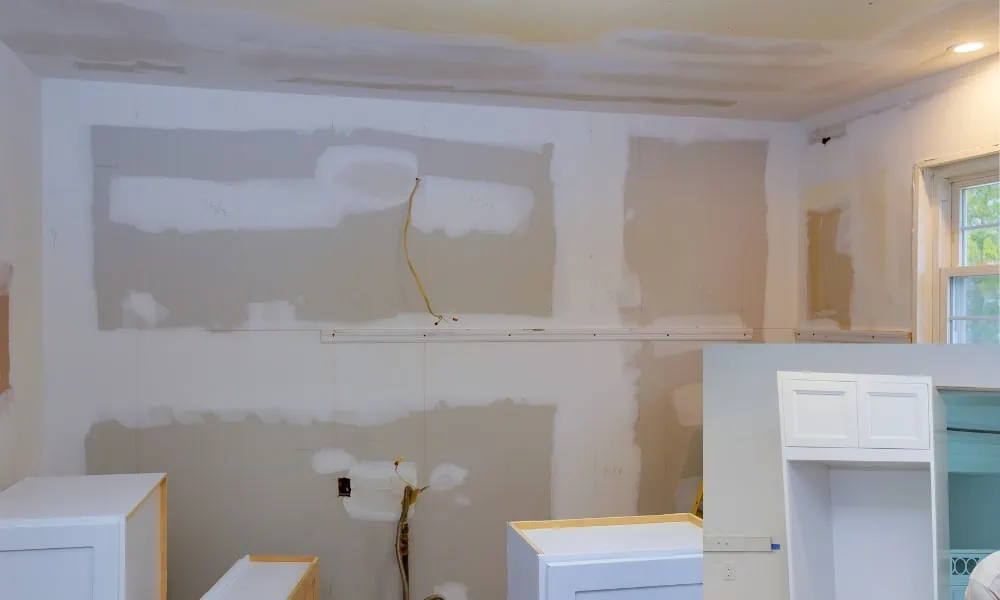
In this step, you will mark the crucial spots on the wall where you will install the cabinets.
You have to establish reference lines for the base and wall cabinets. Remember that this step plays a crucial role in the success of your cabinet installation project.
For base cabinets
Every cabinet installer does this, so ensure to take the floor’s highest point. For this, get the cabinet height.
Standard base cabinets are 34.5 inches in height. There will be 1.5 to 3 inches of height allocated for the countertop. But you will make a guideline for the cabinet height without the countertop. (Mark the bottom edge of the countertop on the wall).
So you must allocate this height from the highest point of the floor. Floors are not always perfectly level.
From my years of building, there will always be variations from different spots on the floors. Set your laser level at a height of around 36 inches from the floor. This measurement will be your reference point.
If you haven’t got a laser level, you will have to get a length of timber of about two meters or a straightedge. Move around the wall or corners, with a spirt level, and find the highest point by marking the gap between the floor.
With a laser as a reference, find the gaps as you move around the wall by measuring from the ground up to the laser line. You can easily find the highest point as the measurement decreases.
The point at which shows the shortest distance from the floor and your laser reference will be the highest point on the floor.
For upper cabinets
The same goes for measuring and marking points for upper cabinets. The only difference is you need to find the lowest point.
Mark the vertical distance between the reference point and the ceiling. In most cases, there is an 18 to 22 inches gap between the countertop and the upper cabinet.
Move around the wall with your straight edge, mark the gaps, and find the lowest point.
The smallest gap between the ceiling and the laser beam is the lowest point. This line is where you’ll place the base of the upper cabinet.

Step 4 Establish a reference line.
To establish a reference line, set the laser level to the lowest point for upper cabinets and the highest point for base cabinets.
When installing kitchen cabinets, start with the upper cabinets before the base cabinets. This measure provides more room to install the upper cabinets properly without risking damage to the base cabinets.

Step 5 Check for studs.
Look for the studs where you can screw and secure the cabinet to. This step is where your stud finder comes in handy.
After finding the highest or lowest point, move around with your stud finder and mark where the studs are.
You don’t want to hit those pipes and wires beneath the wall either. So, make sure you locate them to using a reliable magnetic or digital stud finder.

Step 6 Install the ledger boards or rails.
Some cabinets come with rails to help support the cabinet during the installation.
Or you can utilize ledger boards to support upper cabinets. Ledger boards are planks installed beneath the wall cabinet to support their weight during installation.
Place the ledger board below the wall cabinet’s base. So, you must nail it on the stud marks and the ledger board beneath the reference line.
For the rails, always refer to your cabinet’s height.
Step 7 Check the walls if they are plumb and level.
Use your straightedge or spirit level and see if there are lumps on the wall. The most protruding spot on the wall will be your reference.
When installing the rails, you will fill in shims or fillers on the sunken portion of the wall. The cabinets become off-square without these packers (fillers).
Step 8 Install the cabinets.
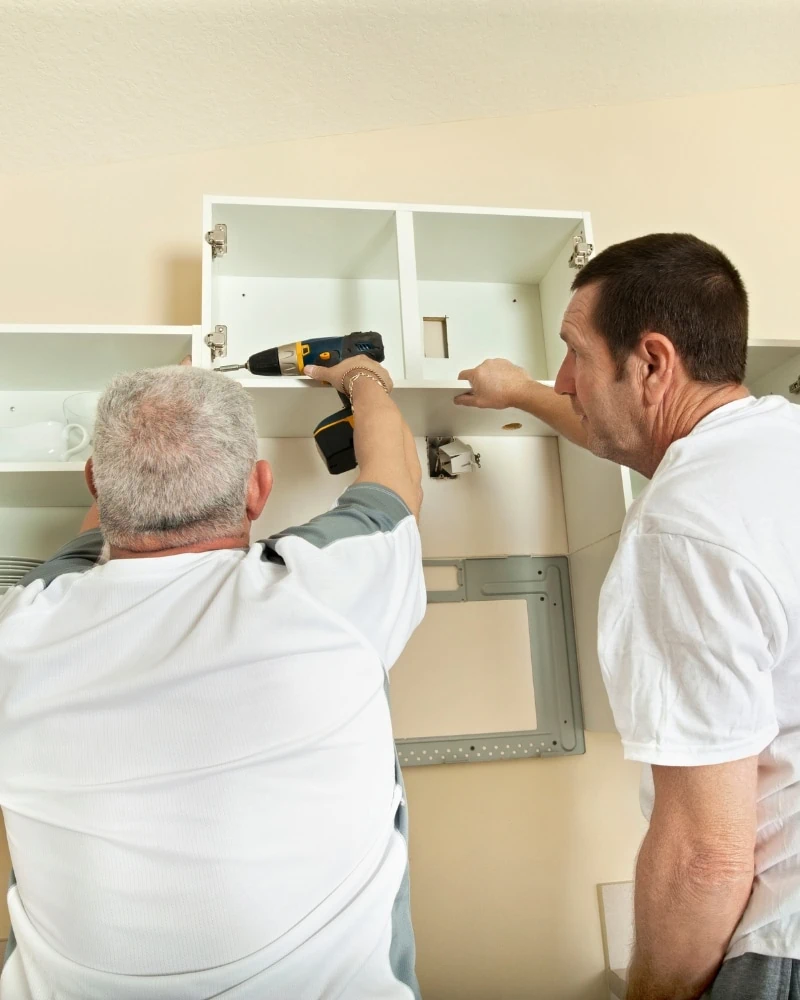
Installing upper cabinets
Now that you have installed the ledger board on the wall, it’s time to set up your cabinet.
Using the cabinet jacks helps free up your hands for drilling.
After assembling the cabinet jack, adjust its arms to fit on the base of the cabinet at the right height and lock it. Even without the jack, you can still hang them solo but with more effort.
Remove the door to reduce weight while installing the cabinet. Lift the cabinet and rest it on the ledger board and cabinet jack.
Ensure the cabinet is level based on the lowest point reference line you found.
From here, you can adjust the front and back of the cabinet and ensure it is level. Do this one by one if you have no team with you.
Use clamps or cabinet claws to hold the cabinet securely while you drive the screws.
Drill only from the stud mark you’ve made earlier. Cross-line laser levels become handy at this point because they also emit vertical lines you can refer to when securing the cabinets.
Installing base cabinets
If you have installed rails earlier for the base cabinets, you must fit the cabinets into them one by one.
Using the highest point line, adjust the front and back of the cabinet. Most base cabinets today come with adjustable legs.
You only have to adjust the bottom to become level with the reference line at the top.

From my experience, adjusting and leveling from the corner of the wall provides easier alignment, consistency, and minimized gaps. Fill gaps with shims as needed.
This step is crucial in finishing with square and aesthetically pleasing cabinets!
When you finally align the front and back cabinets, secure them by fastening them into the studs. Make sure they are plumb and level.
Now, check again for squareness by measuring the cabinets diagonally.
Step 8 Finish your installation.
The final step is installing the countertop. Attach the cabinet doors and other hardware.
After installing the cabinets entirely and ensuring they are plumb, level, and square, you can remove the rails or ledger board used with a framing hammer.

Final word from Banging Toolbox
Installing kitchen cabinets can be easy when you use an accurate laser level.
Other tools you will need are a biscuit cutter for joining, a cordless drill for screwing, and a rail saw for cutting countertops.
If you dont have a rail saw handy, you can use a cordless circular saw with a fine tooth blade and a straight edge.
Along with careful planning and layout, you will have a clear picture in mind of where the cabinets go before installing them.
Make sure to allocate spaces for the cabinet height, countertop, appliances, and even backsplashes.
With these considerations, you can create a functional and aesthetical kitchen that adds value to your home.
When cutting Laminate kitchen tops, you cut the bench upside down to prevent chipping to the countertop.


