
Last updated on March 23, 2026 11:36 pm
Unsure about your floor’s levelness?
Aaron Barnett of BangingToolbox suggests: There are many ways an uneven floor can wreck partly or the entirety of a newly constructed house. I can’t imagine how the instance/s could go unnoticed by floor installers and builders.
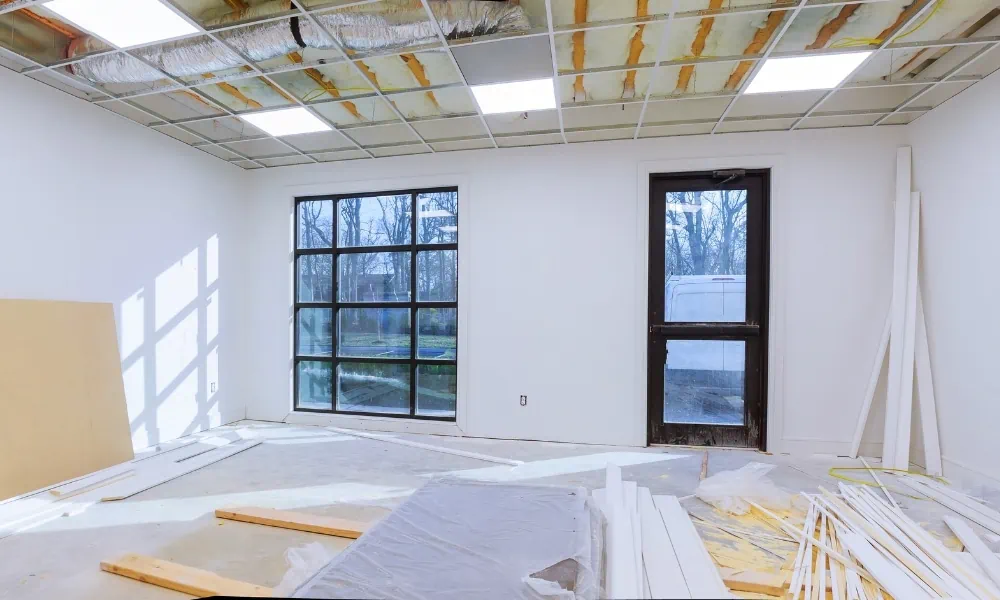
For renovations, it makes sense to level an old floor before laying a floor covering.
You will definitely know how your floor has been messed up if one of the four feet of your furniture cannot sit properly on the floor.
Nobody wants to pull up tiles after you laid them all out.
If you find your door jamming on the floor when opened, it only takes a while before the panel leaves marks or cracks on your tiles.
For some, these little things are tolerable. But in reality, no one wants to walk onto uneven or creaking floorboards.
So if you want to avoid any of these leveling failures on the floor, we’ll show you how laser levels can do wonders on your floor leveling job.

How to check if the floor is flat or level using a laser level?
You need a flat surface for laying out boards, panels, or tiles for a nice level floor.
Some materials may tolerate uneven surfaces like vinyl. But for laminate planks, an uneven surface may pull them apart. And if you must install hardwood timber flooring, an uneven floor may create gaps between the boards.
To avoid flooring failures, you must learn how to check a floor surface for flatness using an aluminum straight edge or a laser level.
Checking for floor flatness
To check a floor’s flatness, you need to measure different spots from the floor up to the laser-level horizontal line. The distance between the height of the beam to the floor surface can be used to find high points and dips.
Use an appropriate level. A laser level with a self-leveling mechanism is perfect for the job. Much better if the self-leveling laser level comes with a rotating 360-degree beam.
- To start, clear your area of any dirt or debris.
- Mount your laser level on a stable surface. If you use a line laser level, position it on one corner. If you use a rotating laser level, place it in the center of the room.
- As the beam rotates or projects, observe its difference from the height on the floor surface.
- Check for height gaps from the projected line at different spots.
Remember that a laser level can project a visual line to show a floor’s flatness. It cannot provide a numerical measurement with your ruler as much as floor profiling tools or a straight edge, except you can cover the entire room while having your hands free.

Checking for floor levelness with a laser level/ sensor
It is important to note that being flat does not mean the floor is level. Here’s what you should do if you want to know if the floor is level.
This is where a straightedge becomes pointless.
- Project a beam from a center point.
- Use a grade stick with a laser detector and mark height deviations from different spots. Or a DIY measuring stick if you are measuring close to the floor.
- Move the laser detector and try to keep it parallel to the laser level. The laser detector will produce a solid beep after detecting a laser beam.
- If the receiver beeps slowly, slide it up. If it beeps continuously, the tool is self-leveling.
- Take note of the height deviations, especially for the low and high spots.
- Mark the necessary adjustments on the floor to be made.
On average, the allowable tolerance must be around ⅛ inch in an area of 10 feet and not more than 3/16 inch within 10 feet.

How to check if the floor is square using a laser level?
Before any renovation or floor installation, you must determine if a room’s layout is square.
When you need to carry out a plan or design that relies on precise measurements, you must know if the room is also square.
A square floor has equal 90° angles on four corners of the room with equal width and length.
With a square floor, you can guarantee an accurate reference point for floor layout and installation.
The most appropriate laser level for this job is a cross-line laser level. You can use any laser level that projects horizontal and vertical lines at the same time to check if a room is square.

- Prepare the area by clearing off any obstacles.
- Mount the laser level on a tripod or any stable and level surface in one corner of the room. Make sure your laser level is facing the opposite corner.
- Turn your laser level on, and project a horizontal and vertical beam. By this time, there will be lines projected parallel to the walls.
- Take measurements from the beam to the end of the floor on different spots in the direction of both walls. Document them in your head.
- Do the same process in the opposite corner of the room.
To say that a room is square, there should be equal distances in both directions of the walls.
If the distances vary on opposite walls, the room is not square. After comparing measurements, you can conclude if you need to make adjustments.
It is likely that a room is not square if you are renovating a room. You want to pick one corner as the “square corner” and the longest straightest wall as the starting point for laying your flooring.
How to use a laser level for floorboard or tile installation?
Now that you know how to check the floor surface for flatness, levelness, and squareness, it’s time to learn how to use the tool for floor installation.
When installing tiles, use laser levels that project a square beam. For hardwood floors or laminate flooring, you can either use cross-line or rotary laser levels with self-leveling attributes.
- Make sure there is no unnecessary obstruction in your workplace.
- Set up your laser level.
- Place it in one corner or at a center point where you will start the installation. Let the laser level self-level until it establishes a reference line.
- Adjust the laser level until it aligns with your desired reference line. Mark your reference point. Repeat the process and extend the reference lines across where you will install the floor panels or tiles.
- Check for floor levelness using a grade stick and a laser detector.
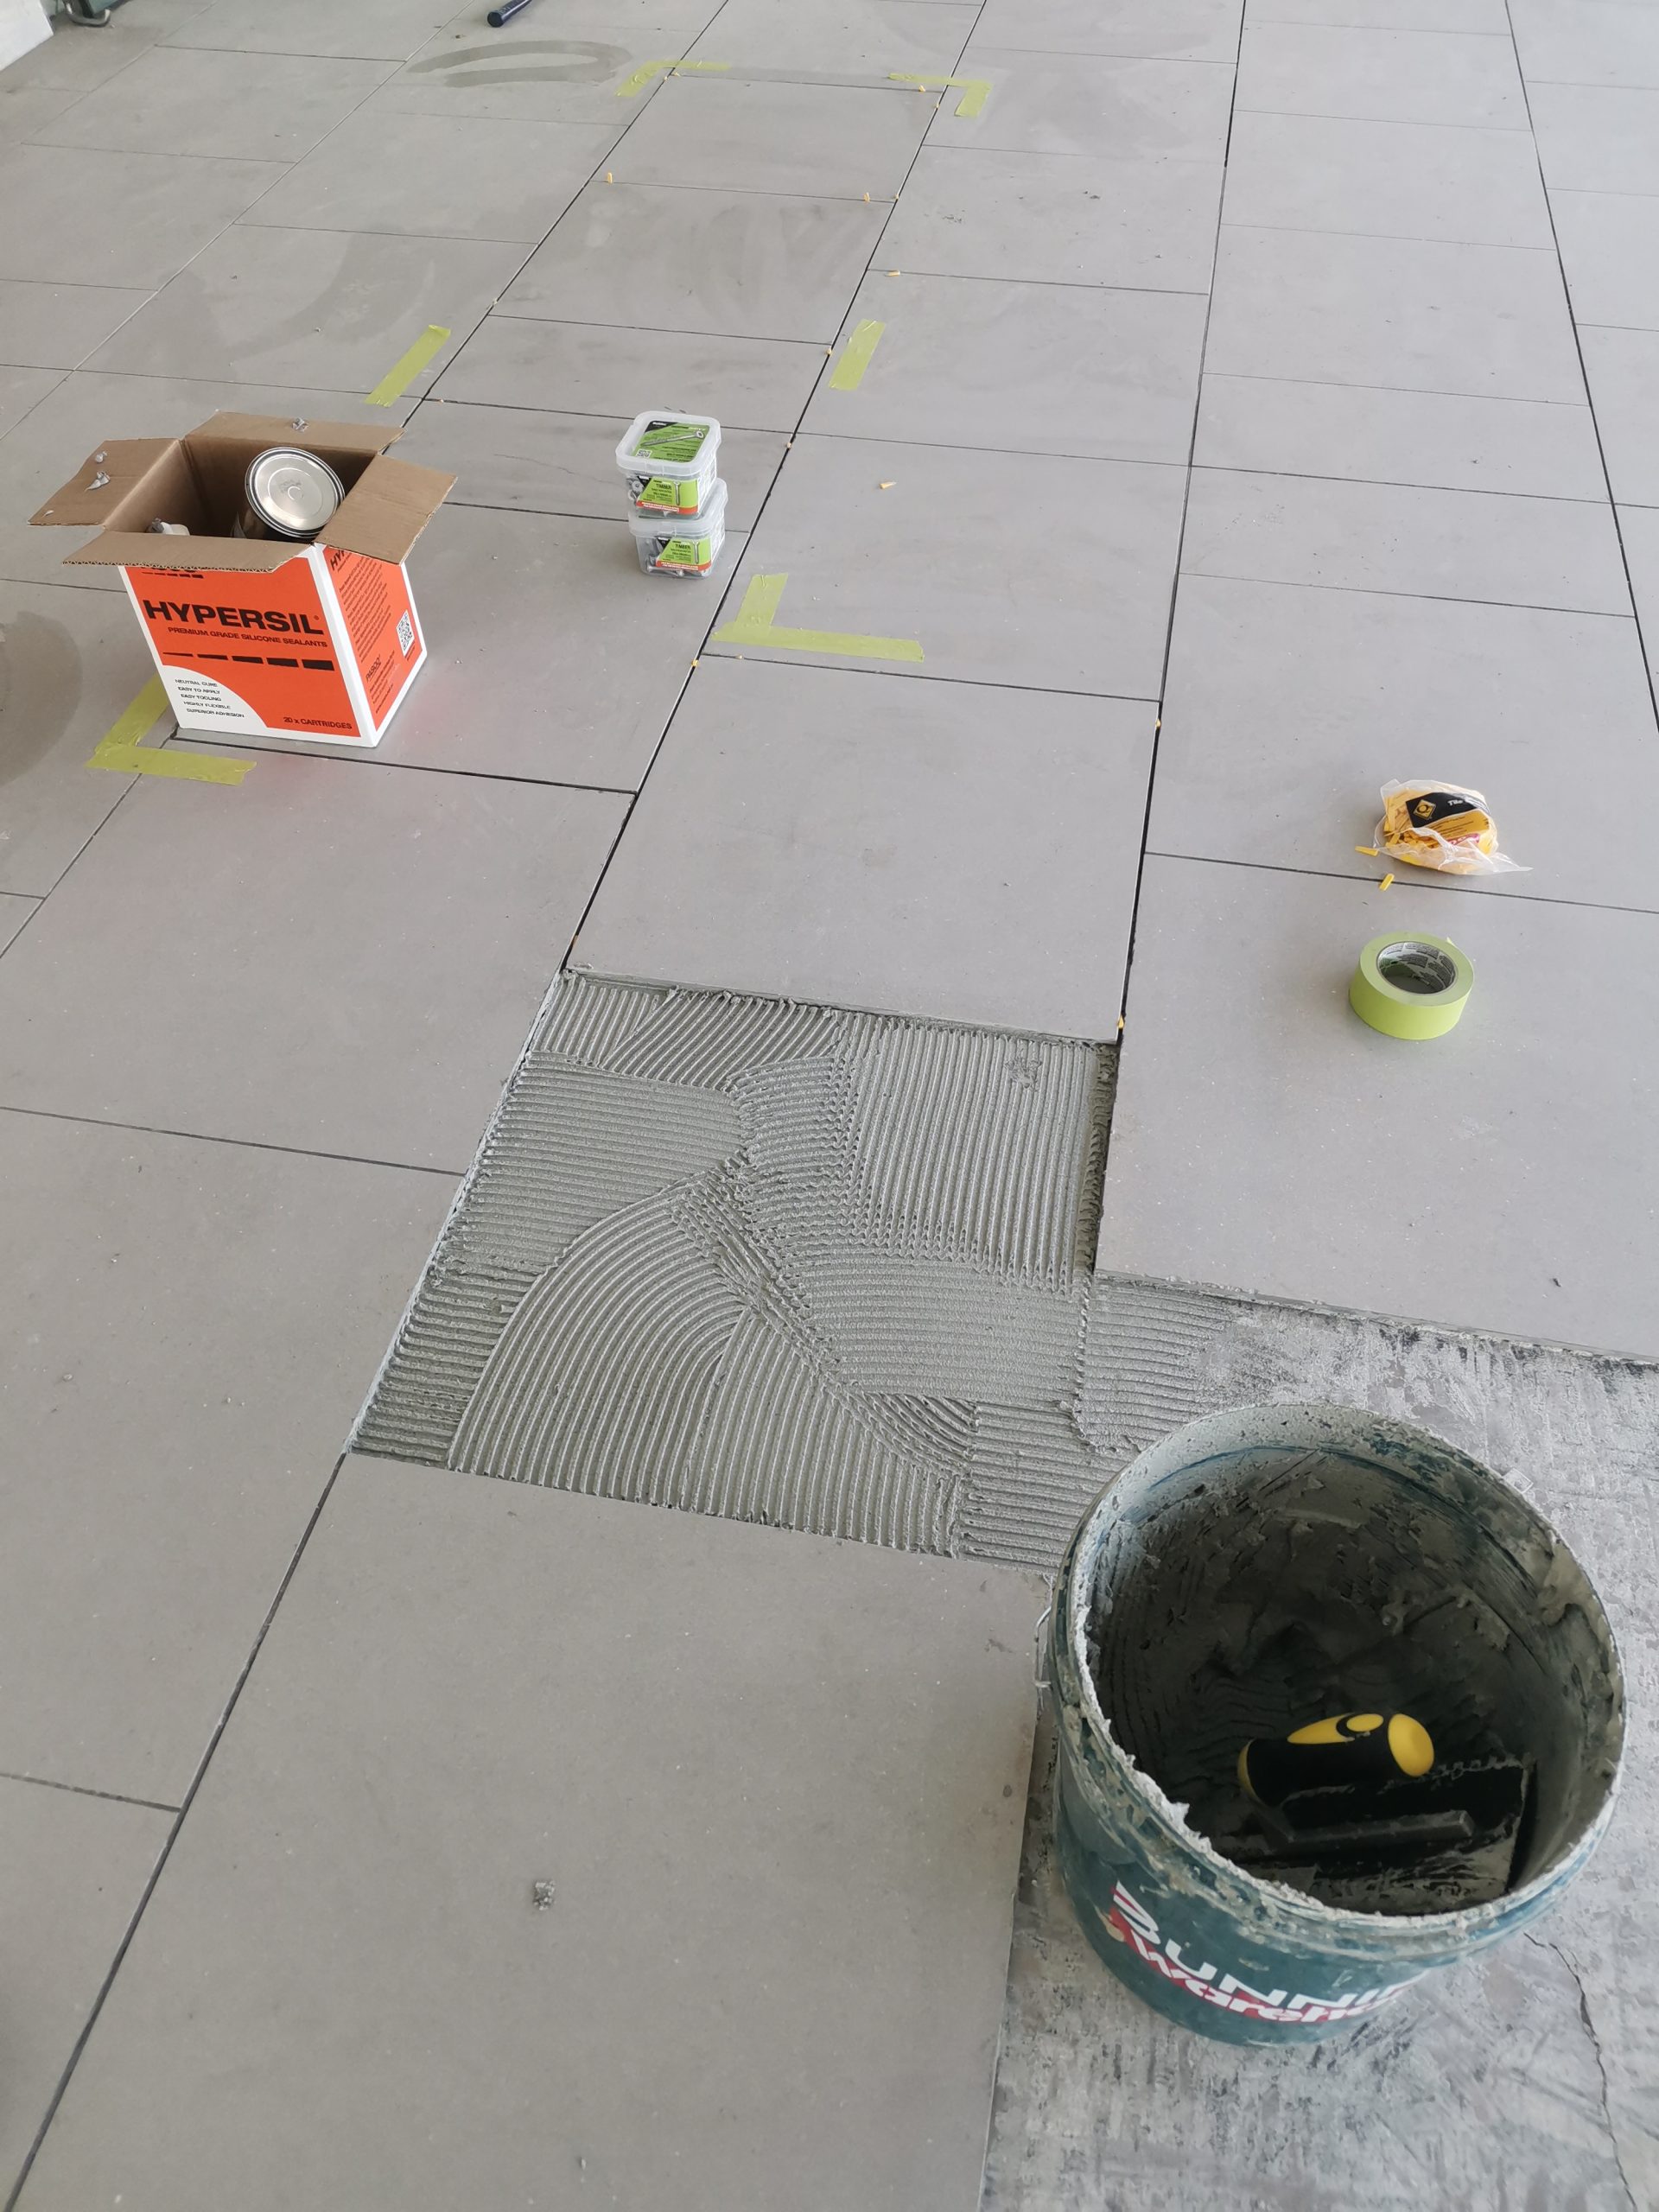
- Plan the layout of your tiles or floor panels.
- Install the flooring materials. Start laying the primer, glue, grout, and flooring materials in order while maintaining the level finish. Make sure the panels and tiles are flat and level.
Use the reference lines you marked earlier.
Align the edges of the tiles or panels on the laser beams to ensure they are in the right place.
Secure the tiles or boards with adhesives.
Additionally, you can project parallel and square lines with a laser level on the floor and then mark these lines on the concrete floor with a red-colored chalk line.

To Sum it Up
Now you know the different functions of laser levels on flooring jobs. It can be a little bit confusing and overwhelming that one tool can do it all.
But when you get to know your laser level better, you’ll get used to the versatility of a laser level. Doors will open to the many things you can do with a laser level.
For flooring, nothing beats the rotating beam with a self-leveling feature. However, crossline laser levels do wonders in this task too and are my preferred all-in-one builder’s laser level.
Either way, we have shortlisted every different type you need to consider on our laser level comparison page so you can weigh which laser level type and which model works for your leveling tasks. Check them out.


