Last updated on March 23, 2026 2:12 am
Need to check your laser level’s precision?
Aaron Barnett of BangingToolbox suggests: Checking the accuracy of your laser level is an important practice before starting your project. A lot of conditions may affect how your laser level will work.
Even if your device is new, it doesn’t guarantee optimum performance when if it has gone through several bumps along the way during shipment or delivery.
Whether you are about to create foundations or structures or simply leveling basic projects for drop ceilings, installing cabinetry, or leveling tiles, you need to ensure that your laser level produces a precise and accurate beam alignment.

Additionally, ensuring the accuracy of your laser level helps you avoid costly consequences to your project, especially if you are working on foundations and roofs.
A seemingly straight beam does not mean it is already level even if you had the best leveling tool.
So in this article, we enumerated several steps to check your laser level’s calibration for accuracy in use.

How to check a rotary laser level for accuracy?
Rotary laser levels are what are used for outdoor leveling work.
This method applies to laser levels that deflect beams covering a 360° horizontal line.
A rotary laser level works best for leveling perfect lines or planes over long distances. The tool covers a larger area and is much better used for aligning structures or foundations.
You will need marking tape or a pencil for this process.

Step 1 Place your laser level in a stable position on a tripod.
Step 2 Provide at least a 20-50 ft distance from the wall. Some models need 100 ft away from the wall.
Step 3 Turn the rotary laser level on. Wait for a few minutes while your laser level is warming up.
Your laser level will signal if it thinks the beam is level by not flashing anymore.

Step 4 Mark the spot where the beam strikes using a pencil. Most of the laser levels today have X and Y-axis coordinates.
If it does not have X & Y coordinates, trace the vertical line with a pencil and mark the spot where the beamline strikes the digital receiver.
When marking, use your receiver and mark the center of the line.
Step 5 Rotate your laser level by 180° and mark again where the beam strikes.
Tip: You can use a digital receiver with a laser level for outdoor work.
Step 6 Take note of the difference between the two measurements. Typically, their difference goes 1/16th to 1/10th of an inch.
It depends on the model you are using. The tolerable difference should be within the manufacturer’s range (Perfect).

Step 7 Rotate your laser level to 90° and mark the spot again.
Compare the difference and see if the difference is within the recommended range.
If it’s out of range, it will need professional calibration.
- All lines from different rotations should perfectly align as the same.
- The greater the distance of the test the greater the accuracy you are testing for.

How to check a chippy’s cross-line laser level for accuracy?
A cross-line laser level only has a 180° laser beam coverage and is perfect for leveling indoor works. This multi-line laser level creates at least one dot vertically and one horizontally.
A calibration test aims to verify if the beams are indeed level on a horizontal plane.
If you find it horizontal within the tolerance range of level within the manufacturer’s tolerances, then it’s likely that the vertical beam is also aligned properly.
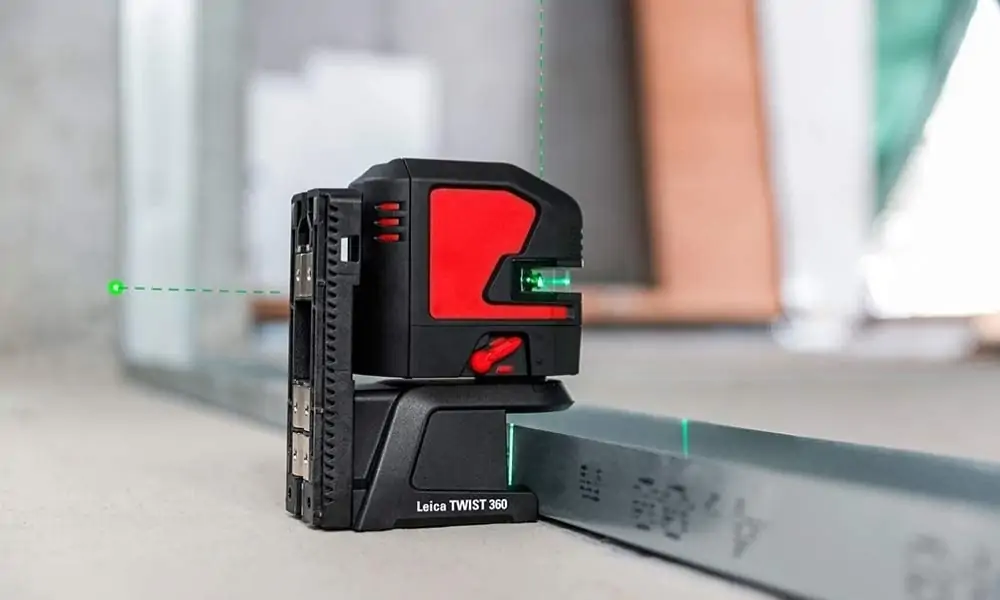
Step 1 From 20 to 50 ft on the wall, place your laser level on a stable flat surface or on a tripod.
Step 2 Turn your laser level on. Your laser level will warm up for a few seconds and release the pendulum lock.
And mark the spot where the beam strikes.
Use the visible line or your receiver to mark the center of the indication line, or use marking tape. Label it as P1 or Point 1.
Practice using the center of the tape when marking. As the line can get thicker, the greater the distance, but the center of the line is true.

Step 3 Rotate your laser level to the right.
This time, the beamline on the left should deflect near or almost at your first marking.
Mark it as P2 or point 2.
Step 4 When your laser level beeps, place your receiver on the wall and/ or mark it from the center.

Step 5 Rotate your laser level carefully in the opposite direction.
Mark your third dot at the center with the indicator and Label it as P3 or point 3.

Step 6 Now you have three marks on the wall.
Start measuring the differences when you place the laser level on the opposite three sides of the room and see if it is within the manufacturer’s maximum tolerance range.
Otherwise, measure from a datum line set from another tested leveling tool.
If it’s out of range, it will need professional calibration. If it’s within the tolerance range, you can use your laser level right away.

Final Word
Checking your laser level performance on a regular basis will help you improve the quality of your work on-site and help avoid a miss performing tool screwing up your work.
Checking a leveling tool is level will increase your confidence when building. You can also reduce or avoid wasted time redoing measurements and leveling errors that could be costly in the future.
After careful assessment of the performance of your laser level, you have to decide if you need to bring it in for professional calibration.
Some carpenters open their laser level for manual calibration, but I would advise bringing it to specialists. Of course, you don’t want to void the warranty of your device.
Some laser levels come equipped with self-calibration mode, but it might be out of wack. A locking pendulum will help protect the performance quality and components inside your laser level.
In any way, it is always worth the effort to check your laser level’s calibration for added confidence and reliance on your level-measuring buddy.
And if you’re still on the lookout for laser levels, we’ve got a separate list for them here.

An example of a construction datum, that can be used to test your laser level as a second test.
Simply set the laser level to the same height as the construction datum, spin the datum and look at every 90-degree turn for alignment on the laser level line.