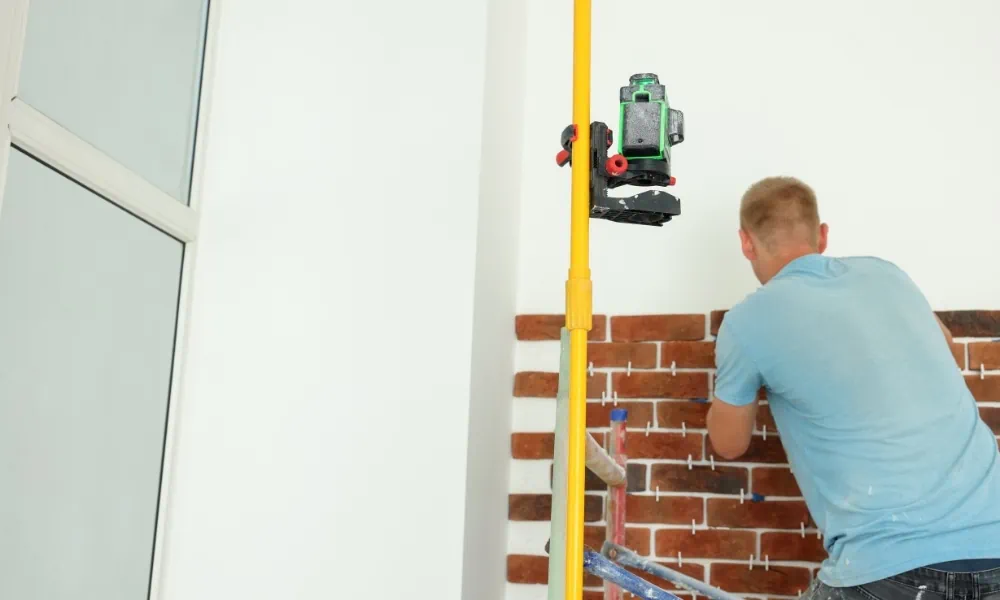
Could you really use a laser level for bricklaying?
Aaron Barnett of BangingToolbox suggests:There’s nothing more satisfying for a bricklayer than having the bricks aligned accurately, level, and plumbed.
Straight bricklaying is one of the most significant ways for for ensuring structural integrity, and a well-laid brick wall can last for centuries.
A laser level is a godsend tool for brickies by trade.
With the pulse mode feature to save battery, you can set four corners of the wall for bricklaying at equal heights.
You can do this by adjusting the receiver to a predetermined height, and mark it for reference and run a stringline. From there, you can start laying the bricks one by one.
Here’s a simple guide on how to use a laser level for bricklaying.
The laser level types for bricklaying
Not all laser level types are suitable for bricklaying. For this task, you will need either a rotary or a line laser level. A laser level should emit horizontal beams to use as reference points for accurate bricklaying.
As you are using a laser level outdoors, it would be helpful to get a digital receiver to find the line via sound.
Rotary laser level
Rotary laser level projects laser beams at 360°.
It covers an area entirely, making it easier for bricklayers to maintain a consistent reference while setting the bricks.
Line laser level with a receiver
This laser level type projects a highly visible straight line for precise bricklaying.
It is much better if you use a cross-line laser level, so you can monitor if the brick layers are plumb.
The addition of a digital receiver will help pick up the beams if you are leveling on a sunny day.
Essential tools to prepare
Green or Red Laser Level
Tripod or a laser level pole
Receiver and grade rod
Laser level enhancement glasses
Bricks and mortar
Trowel
Step 1 Preparing your laser level
Whether you use a rotary or line laser level, you need a mounting tripod or a laser level pole and stable ground to set it up.
Pick a center location where the laser beams can cover the areas for laying bricks.
Attach the laser level to the mounting bracket for the laser level pole or threads for a tripod. Turn the laser level on until it self-levels.
For initial inspection, check if the buttons, switches, and adjustment screws are functional.
Step 2 Calibrate laser level.
You don’t want to mess up the structural integrity of the wall or structure you are building.
The receiver detects the laser beam. It will continuously beam when it aligns with the laser beam.
Go to one corner, where you will start setting the bricks and plant the grade detector.
Attach the detector to the bracket or camp holder. To place it securely on the grad rod.
Face the sensor to where the beam is shooting or projecting. Continue adjusting until the line in the monitor is aligned with the beam.
If you do not have a receiver, use laser-enhancing glasses and a target plate.
And if you are working indoors, you may skip this process with a line laser.
Step 4 Start bricklaying.
Now that you have a reference, determine your starting point and start putting the bricks up one-by-one.
Verify if the grade rod is set to the appropriate height for the first course of bricks.
Start scoping mortar and spread it evenly where you will place the bricks. Place mortars about ⅜ to ½ inch wider to ensure adhesion.
Use the laser beam for reference. The beam should project at the top edge of the brick precisely. Remove excess mortar with the trowel.
Do this for every brick until you finishe the layer. Check if the course is plumb and level, before starting the next row.
Step 5 Monitor plumbness and levelness.
Throughout the project, use the initial reference points to keep the correct elevation based on the height measured earlier with the grade rod.
If your laser level projects a vertical line too, you can check if the courses of bricks are plumb.
As you top a new level, maintain levelness by spreading the mortar evenly and tapping the brick lightly with a mallet until it levels with the other bricks.
For each course of the wall, keep checking for levelness and plumbness.
Step 6 Set the height for every corner.
As you move to the next side of the wall, maintain the correct elevation based on the grade rod throughout the project.
If necessary, take your tape measure or laser measure to see the distance between the laser beam and the top of the grade rod. Any irregularities must be adjusted.
Continue bricklaying from your reference point to complete the other sides. And do not forget to monitor the horizontal and vertical alignment of the bricks.
Step 7 Clean up.
Once completed, remove your reference points. Remove excess mortars. Clean up your tools and sweep the area.
Wash any cement stains of the bricks surface with a wet sponge.
Bricklaying is easier with a laser level.
Think back to when we had to measure alignments with a bubble level and strings manually. Bricklaying is now much more streamlined.
Laser levels address the challenges of maintaining accurate and precise horizontal and vertical alignments in bricklaying by providing a continuous reference point and maintaining consistent elevation.
A laser reduces the need for readjustments that can significantly affect the integrity of bricklaying work.