
Last updated on March 23, 2026 2:33 am
Need to cut metal studs?
Are you wondering how steel framers cut metal studs?
Many homeowners and business fit-outs are turning to metal stud framing for several reasons.
When it comes to resistance to fire and moisture movement, metal studs win over wood framing and work well for lightweight applications.
Aaron Barnett of BangingToolbox suggests: Steel framing is known as recyclable, lightweight, and easy to set up.
Builders don’t like how it works with drywall for application, but the uniform structure beneath the walls provides reliable support.
But since you’re going to cut multiple studs for your partitions, walls, or other assemblies, you need to know how to cut metal studs faster and what tools to use.
As you know, wood-cutting tools used for cutting wooden studs are not the same tools for metal studs.
In this article, we’ll show you how to cut metal studs and what tools to use.

What do you need to cut metal studs?
- Straight-cut aviation snips
- Corner-cut (Right-cut) aviation snips
- Tape measure
- Square tool
- Pencil or a vivid permanent marker
- A cordless drill and impact driver
- A protective pair of gloves & safety goggles
- Metal clamps
- A chop saw, baby!
How to cut metal studs?
Step 1 Prepare your workstation.
You will need a comfortable height and position to cut metal studs.
Whether you use two sawhorses and two planks to make a working platform or a table.
Or if you use a steel workbench, you need a comfortable height to place the studs before cutting in bulk.
Height and length all depend on the power saw you will use. But I advise using metal clamps to secure the studs in place.
Make sure you have enough space to position the studs for cutting and stacking new lengths to be cut.
Clear your space from any debris or dirt. And do not forget to wear safety goggles, ear protection, and gloves at all times when cutting metal.
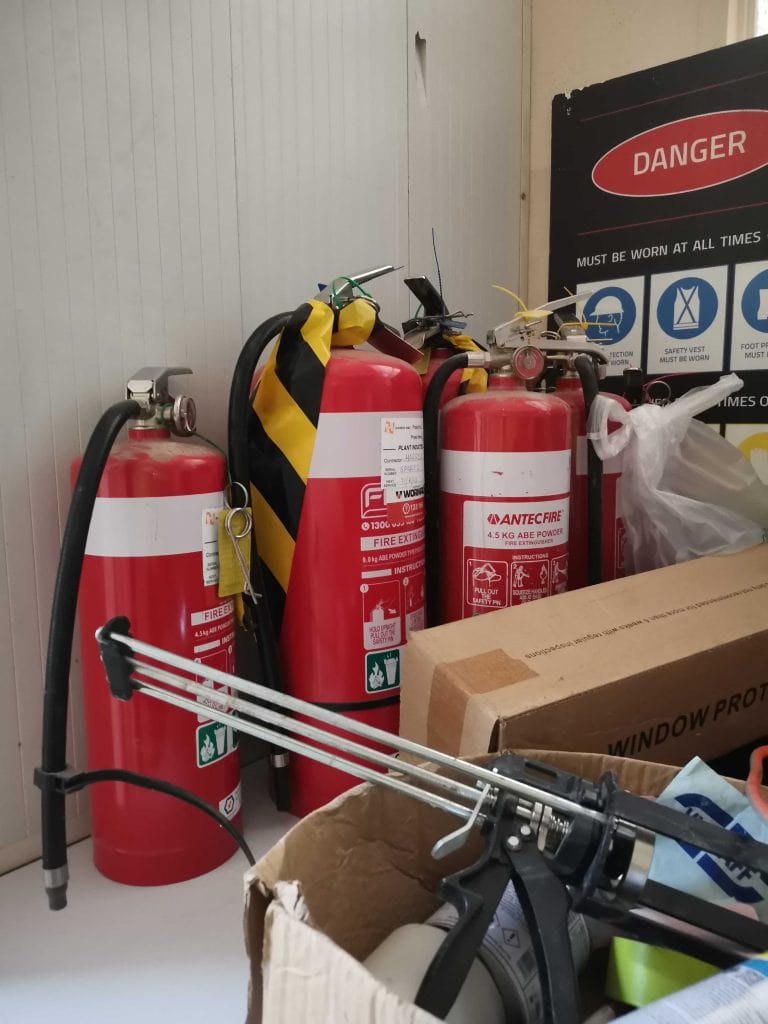
Additionally, keep a fire extinguisher close by at all times because of the sparks, and put protection over any glass windows or objects nearby that could get damaged from sparks.

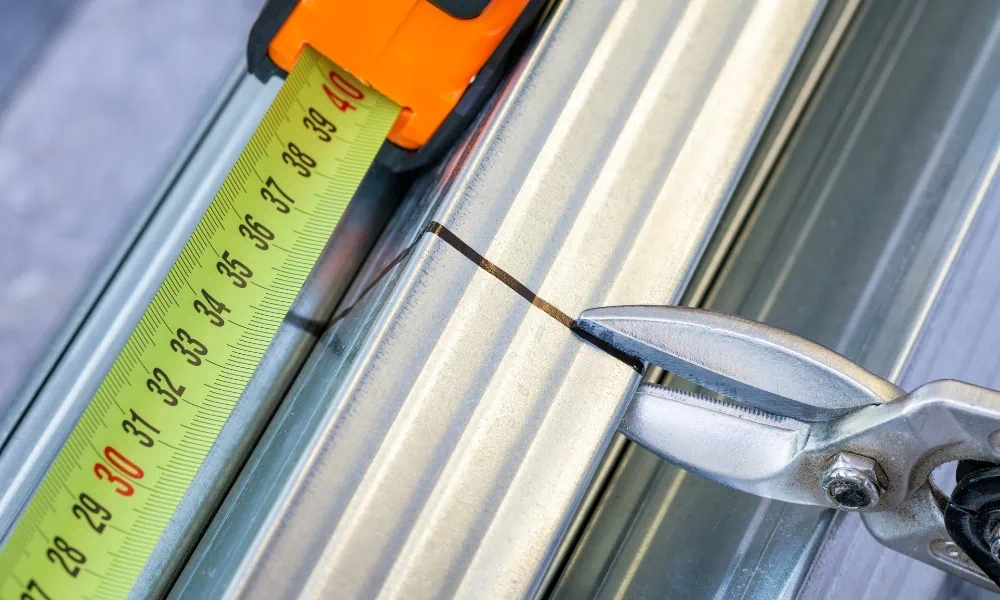
Step 2 Measure and find the length of the studs.
Using your measuring tape, measure the length of each stud you need to cut.
You want studs in equal lengths to avoid compromising the frame’s structural integrity. Additionally, unequal metal stud lengths will affect the stud’s overall appearance.
Use a laser level to check the ceiling and floor for level; this will indicate if all studs can be cut to the same length or if you need to stagger different-sized studs to fit.
The beauty of steel studs is that you have some up-and-down play when screwing up to the top track.
You can find the tightest or the shortest measurement of a stud for a wall and cut all studs to the same length if the difference in stud height for the wall is within a tolerable limit.
For example, having a 0.005 inch or 5mm clearance on the top track is fine, as long as it fits comfortably inside the top track. And cutting all steel studs to the same length can save a lot of time.
Finally, potential installation issues could arise when the studs do not have the same length or are too short to fit inside the track comfortably.
Make sure you have marks that are clear and precise.
Take heights at regular spacings with a laser level to know what stud heights you need to cut too.
You might need a few different batches of sizes for fitting out older concrete buildings with various heights.
Mark the center of all studs first on the top and bottom tracks with a bright permanent marker, using a – running measurement.
You can also count how many studs you need after this.
Step 3 Mark the length of the metal studs to cut.
Mark the steel tracks with a permanent marker. You can stack multiple studs together if you are using a chop saw so that you can cut multiple studs at the same time.
Set up a jig. You can screw a timber block at one end of the table and draw the line of your stud length on the table.
This can give you a quick way to transfer stud height to every metal track you cut without having to measure everyone individually.
Additionally, if you are using a chop saw, you can screw the tool down to your workbench in the perfect place.
So that when each stud or bundle of studs is pushed against the jig block, you can cut multiple lengths quickly to the correct length without having to measure the studs individually.
For individual measurements and cuts – Draw a straight line using a carpenter square if you are using an angle grinder or tin snips that don’t cut square automatically as a chop saw does.

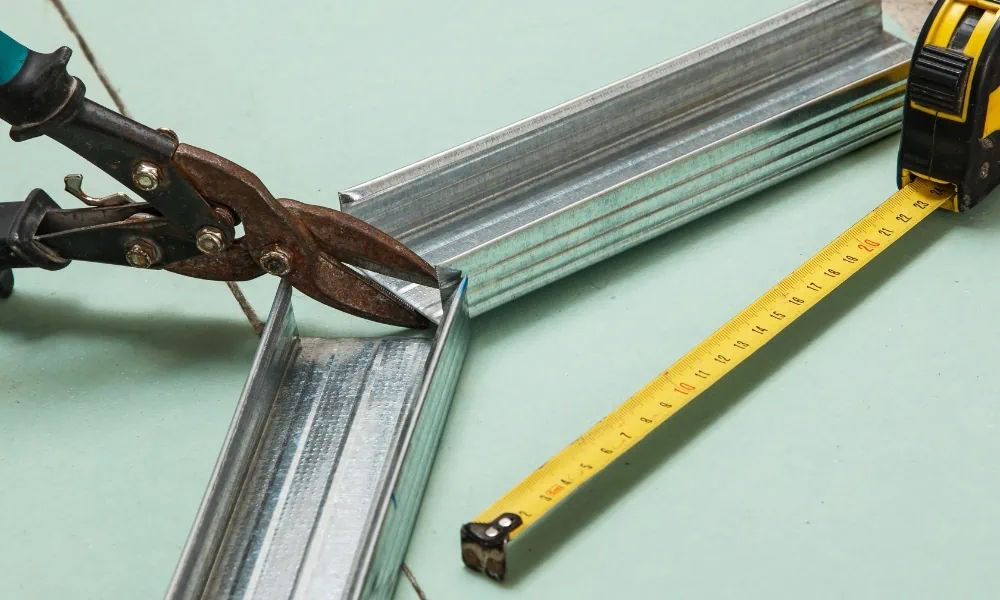
Step 4 Cutting Method A – Cut with tin snips.
You have two ways to cut metal studs, and the first is with tin snips.
First, cut the metal stud on both ends and bend it open a bit. Then cut the center part of the track.
The second method is to start cutting all the way around from one side. Among these two methods, the first one makes a cleaner cut, but the second is quicker.
Step 5 Cutting Method B – Cut with an electric chop saw.
You just have to set it to the ideal settings and cut from the marks prepared by your jig. Ensure clean and precise cuts.
Any rough edges should be removed or deburred.
Doing this will prevent cutting your hands or causing any injury related to mishandling the stud during installation. Wear leather gloves!
Tools to cut metal studs
1. Electric Nibbler
An electric nibbler uses a punch-and-die mechanism when cutting into metal sheets or studs. And can easily cut through metal studs and produce precise and cleaner cuts.
What we love about this cutting tool is that a nibbler doesn’t create sparks while cutting on metals. Also, the tool prevents distortion when cutting metal objects.
It creates minimal burrs and produces less noise. It is easier to handle than other cutting tools.
But a nibbler tool is better for cutting out holes and making curved checkouts in metal studs than making fast bulk cuttings.
The problem with an electric nibbler today is that the blade has so much maneuverability, although you cant automatically cut square cuts like a chop saw will.

2. Straight-cut aviation tin snips
Tin snips are one of the most suitable hand tools for cutting metal studs.
Your new pair of lobster mitts will be lightweight and portable, making fast, quiet, and sparkless cuts in thin metal studs.
Tin snips create precise cuts and are ideal for DIY metal stud-cutting projects.
And the good thing is that having three different pairs is not as expensive as power cutters.
However, the problem is that aviation snips cut slowly for bulk cuts and require physical energy and effort to use and align.
3. Angle grinder
An angle grinder polishes, cuts, and grinds metal easily. The disk-cutting tool is portable and easy to use.
Grinders can cut through metal studs easily. However, it is more dangerous if the operator does not know how to use it properly, as the blade can easily twist and shatter.
An angle grinder can cause kickbacks if unstable cuts are made, and it’s a little messy to use and creates metal dust and noise.
Always use a safety mask when using this tool, with ear muffs, gloves, and eye protection.

4. Miter saw
A miter saw is an excellent tool for making precise and angled cuts. You might be able to use a miter saw to make cutting metal studs possible.
If you are working on time-sensitive projects, miter saw cuts faster and more efficiently. However, you need to use the correct blade for cutting metals.
You need to make sure to find a steel cutting blade that works at the speed a miter saw operates. The SPM (Spins per minute) on miter saws can be too high for metal cutting blades.
Not to mention many tools won’t be able to handle the sparks and can cause long-term damage to your tool through burning and melting.
For this reason, you are much better to run an abrasive cutting disk on a chop saw designed for metal cutting rather than wood cutting.

5. Chop saw
A chop saw is efficient and is the best metal stud-cutting tool with circular abrasive blades. It is often mistaken for miter saws on crappy DIY websites.
A miter saw is designed for making straight and angled cuts on wood. While a chop saw is designed to cut straight and perpendicular cuts on metal.
Also, operators use this tool by pushing the arm in a chopping motion. A chop saw is fast and efficient, and easy to handle.
However, a chop saw offers limited mobility and creates sparks and noise that an operator needs protection from.

6. Reciprocating saw
A reciprocating saw is the electric counterpart of a hacksaw.
Faster than a hacksaw and can cut through metal studs with the correct blade, but a saber saw is not that efficient for fast and straight cuts.
What we love about this tool is you don’t have to exert too much effort when cutting, unlike a hacksaw.
If you’re DIYer with occasional metal stud-cutting projects, this could be your ideal tool for one or two cuts.
A reciprocating saw otherwise should be used for demolition work.

Safety tips for cutting metal studs
- Wear safety gear like goggles, ear muffs, and safety gloves.
- Work on a stable surface.
- Make it a habit to turn the tool off when not in use.
- Avoid working near flammable substances by all means.
- Take breaks during periods of cutting. This will help things cool down and help you recover, as this job can be tiring as you need to maintain focus and accuracy.
- Always keep your area clean.
- Don’t forget to remove burrs and edges.
- Choose a well-ventilated area to cut metal status.
- Have a fire blanket and a fire extinguisher nearby.
- Protect glass windows from sparks.

Takeaways!
Cutting metal studs should be as easy as eating hot chips with chicken salt. With the correct power tool, that is.
But you need to take extra practice with safety precautions when working on metal-to-metal cutting work. Sometimes, you only need the right guidance, and you can be a reliable metal framer.


