
Last updated on March 23, 2026 4:39 am
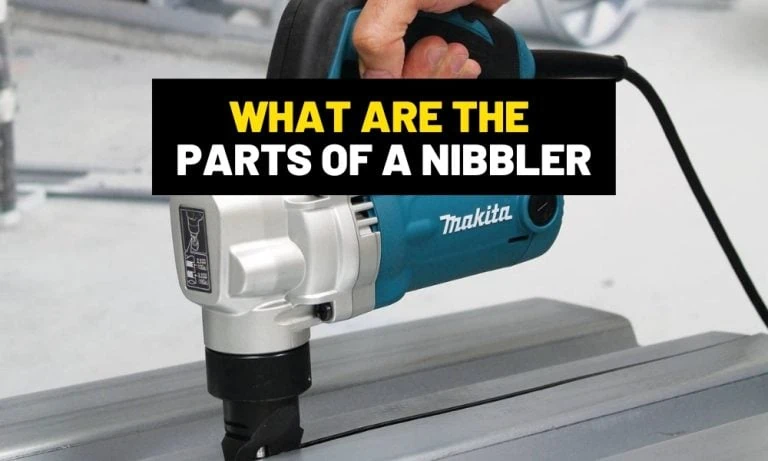
Do you know the basic parts of a nibbler?
Aaron Barnett of BangingToolbox suggests: If you are new to metalworking or you have just got your dirty DIY hands on your first nibbler tool, you should know the different parts.
Knowing the parts and the locations will help save you trouble from any issues, handling, safety, and give you maintenance direction.
You won’t find a complex motherboard installed inside a nibbler tool that can be upgraded.
The industrial metal cutter is not considered an electrical device but rather an electrical power tool. You will find inside a motor with magnets, bearings, and bushes that is powered by electricity or compressed air when assembled from the factory.
Additionally, knowing the parts will help you identify the mechanics so that you know how the tool works.
Aside from that, you’d eventually know how to care for the nibbler and avoid misuse.
So if you’re ready to know more about the nibbler, here’s what you need to know.


1. The Punch
The punch is the cutting part of the nibbler used to create holes in metal sheets.
This part of the nibbler is a cylindrical metal rod with a pointed tip that is inserted into the nibbler’s head and protected by the die holder. The punch works with the die to pierce into a metal sheet while cutting. This mechanism makes it different from shears.
The motion creates the punch, and the cutting head creates a circular motion, creating clean, precise circle cuts or holes.
The punch is available in different sizes for different models to accommodate different cutting needs and tool designs.
2. The die
The die is a flat metal plate with a hole at the center that accommodates the impact from the fierce piercing punch.
The die supports the metal sheet as it works with the punch cutting into the hole.
The punch creates a shearing action that follows the size and shape of the die as soon as the nibbler’s head rotates it into the sheet metal.
The die is made from a strong metal plate that can endure repeated impacts. However, the surface can also wear out over time.
3. The die holder
The die holder is a crucial component that keeps the die in position and aligned.
Acting as a metal clamp or frame attached to the nibbler’s head, the die holder keeps the die aligned with the punch.
The alignment of the die with the punch is crucial to creating every single cut.
An improperly aligned die can compromise the quality of cuts and also damage the tool. Also, this could result in wasted metal sheets and jagged cuts.
The die holder also helps to reduce vibration when the tool is in operation.
The die holder could have different adjustment points to accommodate various cutting needs and metal thicknesses.
Some die-holders have quick-release locks for a faster die or punch replacement.
And die holders can have various appearances but are found to generally have metal clamps and one or two holes to screw or fasten the die.
Some models may contain adjustment levers or knobs.
Here’s a detailed guide if you need to replace the punch, die, or die holder.

4. Die holder locking nut or knob
As the name implies, the knob or nut aims to lock the die holder in place. The system works by turning the nut or knob to tighten the die holder on the nibbler’s head.
The locking mechanism maintains a stable connection between the entire punch-and-die assembly to the nibbler’s head.
Tightening the knob or nut is crucial in preventing shifting or loosening of the die holder during tool operation.
The nuts require a wrench to tighten or loosen. Most of these knobs utilize a quick-release mechanism for the die, die holder, and punch replacement.
5. Nibbler’s cutting head
The nibbler’s head is a component that holds and operates the punch-and-die assembly.
The head should be made of high-strength metal that can take the repeated vibration of the punch and die.
This part guides the cutting action of the tool. Some units use led lights to help us follow the guide.
As the switch activates the tool, the nibbler’s head applies pressure so that the punch moves up and down to pierce into the center of the die.
The function of the nibbler’s head is mainly to support and hold the punch and die assembly. And guide the operator to create a cut into a desired shape.
Mainly, the head should enclose the entire cutting assembly to protect the operator and minimize injury.

6. The motor
The motor of a nibbler is the heart of a nibbler that drives the gear train connected to the cutting head of the nibbler tool, which houses the punch-and-die mechanism.
Typically, the motor is activated by electricity or air. For this reason, nibblers are either electric or air-powered.
As power is supplied to the motor, electricity flows through the stator coils to create a magnetic field.
This magnetic field communicates with the magnetic poles to create a rotating motion that drives the gear train and causes the up-and-down cutting motion of the punch and die.
Typically, you can choose between a brushed and a brushless motor. The brushed motor employs carbon brushes to transfer electricity.
The brushless motor utilizes a more efficient electronic commutation system to transfer energy without internal friction resistance from a brush.
Meanwhile, pneumatic motors use compressed air to power the gear train and enforce cutting motion to the punch and die.
7. Variable speed trigger
The variable speed trigger is commonly found near the motor and the handle. As the name implies, this switch allows the operator to assign a set speed and control the pressure applied to the cutting mechanism of a punch and die.
By allowing us as the operator to adjust the speed, the nibbler can cut through different materials with varying thicknesses and better precision.
Typically, the speed of a nibbler goes from 1000 to 3000 SPM.
8. The handle
While not much-given importance, a nibbler handle is a crucial component for enforcing a controlled cut.
The ergonomics of the handle is responsible for a convenient, secure, and comfortable grip while working with a nibbler.
Ease of use and a comfortable grip is also responsible for reducing fatigue for the operator, especially for those who work with nibbler for longer hours.
Comfort will be responsible for cutting precision. For this reason, pick all tools with a user-friendly handle.
See if your nibbler handle has non-slip and shock-absorption attributes.
For this reason, a first class choice has rubber or TPE (thermoplastic elastomer) handles. And fits comfortably inside the palm of your hand.
9. Power source
Three main sources of energy can drive cutting action to a nibbler: electricity (main): air (compressed), and battery (Li-ion).
1. Air inlet
Powered by compressed air, these nibblers are lightweight and compact and serve precise, high-speed cutting.
They do not create sparks. You can work with one for long hours in your workshop as long as you have the required compressed air on tap.
The part that connects the air compressor hose to the air-powered nibbler is the air inlet which is normally found at the end of the handle.

2. Electrical plug
The most commonly used nibblers are electric-powered. Electric-powered nibblers offer consistent shearing power but with limited mobility.
The electric-powered nibbler uses electric cords to connect to an electric outlet. To use it better in a larger space, use extension cords to plug it in in different spots of your workplace.
An electric nibbler is the most popular nibbler choice to this date.
3. Battery & battery compartment
Most modern carpenters, metalworkers, or DIYers would appreciate the mobility of cordless nibblers.
Instead of using electric cords, cordless tools utilize a battery compartment to hold rechargeable lithium-ion batteries that are lightweight and highly dense in performance potential and output.
You’d likely spot the station for the portable power bank at the end of the handle.
To wrap it up
The parts of a nibbler seem straightforward, but you’ll never know the purpose and how to care for them if you do not take the initiative to learn more about each part.
Now that you know the details, you can understand what different parts do and how they work with each other to make the shearing action that nibblers are known for.
You won’t get confused now with the parts when you finally decide to get your own nibbler.


