- Got a spot right in the corner for your TV?
- Consider these factors when mounting your TV in the corner:
- 1. Prepare your tools.
- 2. Find the distance of both wall studs from the corner.
- 3. Pick a TV mount for the corner of your walls.
- 4. Attach the back of your TV to the TV mount adapter plate.
- 5. Locate studs on the wall for your desired TV mount location.
- 6. Mark your preferred height on the wall.
- 7. Start drilling holes.
- 8. Attach the bracket to the wall.
- 9. Secure your TV on the bracket.
- 10. Adjust your TV to your desired angle and enjoy!
Last updated on November 22, 2022 1:05 am
Got a spot right in the corner for your TV?
According to Aaron Barnett of BangingToolbox: Whether it’s only the space left in your room or it is your preferred spot to mount your TV, mounting a TV in the corner could be a challenge without the right TV mount.
Unlike mounting on the center of your wall in the living room or bedroom, installing a TV in the corner has restrictions that may affect your TV’s movement.
Even if you use a full-motion TV mount for your corner, your TV can only move up to an extent where the sides do not get in contact with both of the walls.
The same is with the swiveling motion feature, as it has limitations where it can swivel right or left.
To avoid the purchase of an incorrectly-sized TV mount and improper mounting, we simplified in this guide the procedures that can help you with mounting your TV into the corner of a room.
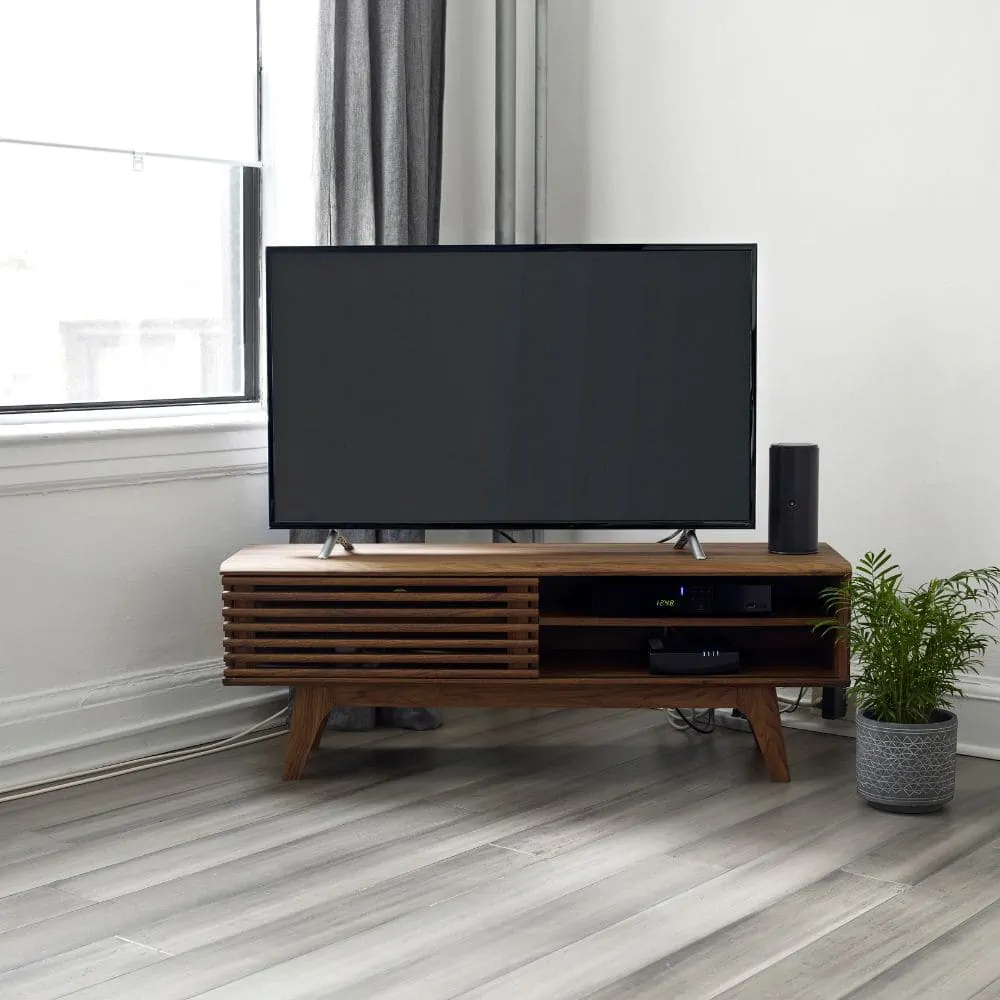
Consider these factors when mounting your TV in the corner:
Your TV size, VESA pattern, and weight
Before purchasing a TV mount, take note of your TV size or frame dimensions, VESA pattern, and weight.
And know that, the TV size you intend for corner TV mounting is not the same as how you measure a TV size for center TV wall mounting [1] as you need to have space for the outward frame to fit from the LCD size.
You need to take the space your TV will take from edge to edge and the space available from wall to wall.
So it makes sense to measure the width of your TV from one side to the other and add a few more inches to set a minimum spacing from wall to wall.
And just like any mounting type, you need to take note of the VESA pattern of your TV and your TV weight to endure that you will purchase the right bracket.

Your Type of TV bracket
There are two types of mounting brackets you can use to hang a TV in the wall corner.
One is the usual full-motion TV mount that you can use with single or dual studs but has one mounting base.
The other one is specialized for corner TV mounting. It has two mounting bases that you can install from both sides of the wall.
Either types of TV mount are great for the TV corner and will help you maximize your space.
The length of bracket arms and their movement capacity
Another measurement to take note of is the length of the bracket arms.
When choosing a TV mount, measure its full extending capacity, including the pivoting length of the bracket arms.
Consider different folding angles, like the space it takes when you fold the pivoting arms flat on the wall.
Wall placement and stud location
Studs locations are necessary measurements when mounting a TV in the corner, especially if you are using a dual-based corner TV mount.
When determining wall placement, you have to consider the TV height and the space in the corner from one wall to the other wall.
1. Prepare your tools.
- Drill
- Stud finder
- Bubble level, or a laser level
- Markers
- Appropriate fixings
- Screwdriver
- Tape measure
2. Find the distance of both wall studs from the corner.
Get the minimum distance or space needed for your TV from one wall to the other wall.
Choose a corner TV mount with adequate arm extensions for the TV size.
Decide if you want a dual-base corner TV wall mount or a single or dual-stud full-motion TV mount with more flexibility on the direction. Take down these measurements:
- Take the TV size from left to right horizontally and not diagonally. From there, you should add more inches, about one to two inches from the right or left to assign TV clearance to the wall. Mark it on your wall from one side to the other side.
- From the mark you made on the wall, measure the distance from that point to the wall corner. Both sides should have the same distance from the wall corner. Take note of this. You will base this measurement on the minimum points where the mount should extend.
- Also, take the space needed for the folded pivoting arm of the TV mount from the wall to the plate adapter of the mount. You want to give your TV some clearance where it moves or at least fold the TV mount arm too and still have enough distance for the TV.

3. Pick a TV mount for the corner of your walls.
From the measurements above, you will assign the maximum extension of the arms as your reference when purchasing articulating TV mount. Also, check the length of pivoting arms when choosing a TV mount.
Don’t forget to take reference on the VESA pattern of your TV and its weight.
For standard full motion mounts – The longer a TV wall mounts, the larger the TV it can mount in the corner just get the longest one available.
For dedicated corner TV mounts, make sure it is compatible with the size of your TV or larger TVs.

4. Attach the back of your TV to the TV mount adapter plate.
Once you have purchased the right TV mount, you can start installing it into the wall corner.
TV wall mount kits usually have the fixings needed, but you can always upgrade to higher quality screws, as sometimes cheaper units provide below-average screws.
Get your cordless drill or screwdriver and attach the adapter plate to the back of your TV. These adapters are usually detachable, so you can separately install the adapter to the TV and the TV mount base on the wall.
Make sure to place the monitor face down on a soft or protected surface to avoid damage. Find the hole spots that fit onto the VESA patterns.

5. Locate studs on the wall for your desired TV mount location.
After attaching the backplate of your TV mount to the TV, it is time to attach the bracket body to the corner.
But before you start drilling, get a stud finder and check for studs to support your TV mount better.
If you are installing on a hollow drywall, you will need toggle bolts so the TV mount can get a better grip on the drywall and the mount can hold the TV. Mark the stud locations.
We recommend finding studs for large TVs or adding necessary wall framing. You can use structural plywood on top of the walls and paint it if you struggle to find a fixing point.

6. Mark your preferred height on the wall.
Since you will use an articulating TV mount, you will have more chances to adjust the viewing angle and avoid TV glare.
Set your preferred height and begin marking the holes you need to drill.
7. Start drilling holes.
Use the bubble level that comes with your kit, especially if you are mounting dual-armed corner TV mounts.
Some models come with built-in bubble levels. You need to ensure they are of the same level, I just use my laser level when installing TVs.
Your bracket needs fastening holes for dual arm bases on different sides of the wall from the corner.
You can also use the paper template that comes with your kit. Get the right drill bit for drywall or concrete wall and start drilling.

8. Attach the bracket to the wall.
Get the fasteners included in your kit and attach the bracket to the wall.
Make sure it is fastened enough to hold the TV.
Test its stability by attempting to move the bracket right and left.
And check if your sideways space clearance is correct.

9. Secure your TV on the bracket.
Secure your TV attached to the adapter on the bracket arms.
There are different locking mechanisms in different TV mounts.
Make sure they are utilized according to their design to secure your TV from accidental knocks or an earthquake.
This will stop the TV from bouncing up off the hardware.

10. Adjust your TV to your desired angle and enjoy!
Now that you have secured your TV, all you need to do is adjust your TV according to your comfortable view.
More information:
- How to measure for a corner TV stand, https://www.ehow.co.uk/how_6313646_use-ti_89-converting-scientific-notation.html