- Let’s talk about copper.
- Tools needed to make copper artwork
- Tips to find or buy a copper sheet
- How to make copper wall art?
- Introduction on joining copper elements
- How to braze brass edges and joints
- Solder the edges instead (Beginner method)
- Copper wire art
- Copper pipe art
- Take one step at a time.
Last updated on March 19, 2026 3:52 am
Let’s talk about copper.
Aaron Barnett of BangingToolbox suggests: Copper is the easiest metal to work with for making metal-styled artwork.
Copper is very easy to bend and shape exactly how you want while being easy and safe to cut. All that’s needed is 2 pairs of tin snips and a tool for brazing or pop riveting and soldering the joins.
Hand-made copper artwork looks amazing when finished, you can bring out an awesome shine with the right technique.
You don’t have to worry about it rusting as copper is naturally corrosive resistant.
If you keep it outside it can, however, turn green, some people like that but I much prefer the brown and golden shine that will stay if you keep the artwork indoors with the occasional clean.
Copper art is a great craft to pick up, also a popular “gift for him” idea. But did you know you can have a go at making it yourself?
Or set someone up with what they need to get started. It’s a relatively rare type of art that you could sell at the local art gallery when you get good at it.

This copper piece resembles a deep-sea eel, using a colorful selfish called paua as the eye. The paua is also broken up to add a layer of shine to the body.
Tools needed to make copper artwork
- Two pairs of tin snips, one straight cut, and one pair of left or right-handed snips for cutting around corners.
- Optional hand nibbler can also be used for detailed more controlled cuts, just keep in mind that a hand nibbler will cut out a chunk of metal rather than a slice like tin-snips cut.
- Anything to mark the metal using a tool to scratch the copper and a pen.
- Gloves.
- A metal file.
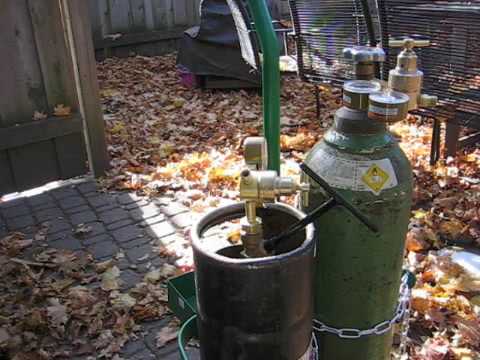
- A portable oxy-acetylene kit.
- Optional engraver for design details.
- A bench vise or metal clamps to hold your work.

Tips to find or buy a copper sheet
- Try to find an old broken hot water cylinder lying around, and recycle it into a nice piece. In fact, you would have enough copper to make heaps of copper artwork.
- It is very easy to cut out a bit and flatten it out with a hammer.
- The easier way might be to just buy a copper sheet the size that you need and get started.
- Don’t worry if the copper looks dirty at first, that is normal, you can shine and polish it up later.

How to make copper wall art?
- Once you have your tin snips and a sheet of copper come up with a design.
- The best way to do your design is on tracing paper.
- Include a few 3D elements.
- Any 3D elements are cut out of separate pieces of copper and then connected at the end.
- You want to flatten and cut the copper close to the right size to work with.
- Draw the design on tracing paper and any 3D overlapping elements.
- When every element is on tracing paper you can now easily place the paper design directly onto the copper to cut it.
- Now trace the design by scratching the marks, with a nail, or any sharp metal marking tool.
- Now that you have marked the copper out. Use a pair of left or right-handed tin snips to cut the copper to the right shape.
- Bend the copper a bit to help you make detailed cuts as needed.
- When all your copper pieces are cut out, you can start bending them to give them shape.
- Position each separate element to make sure everything is fitting in the right spot.
- There are 3 options from here depending on your skill level.


Introduction on joining copper elements
The best way to join the copper elements is to braze the edges, however, when just getting started and if you don’t have an oxy-acetylene kit, you could have a search for a local welder that can do the finishing touch for you.
If you want to do it yourself and don’t mind going for a different look using a soldering iron and pop rivets instead could be an idea, this is an easier method for joining copper artwork, but it is not as strong as brazing the edges with oxy-acetylene.
If you use solder there will have a silver finish and can also look good.
You could use pop rivets to join elements and find a way to cover the pop rivets up using the solder, or you could make the pop rivets a feature.
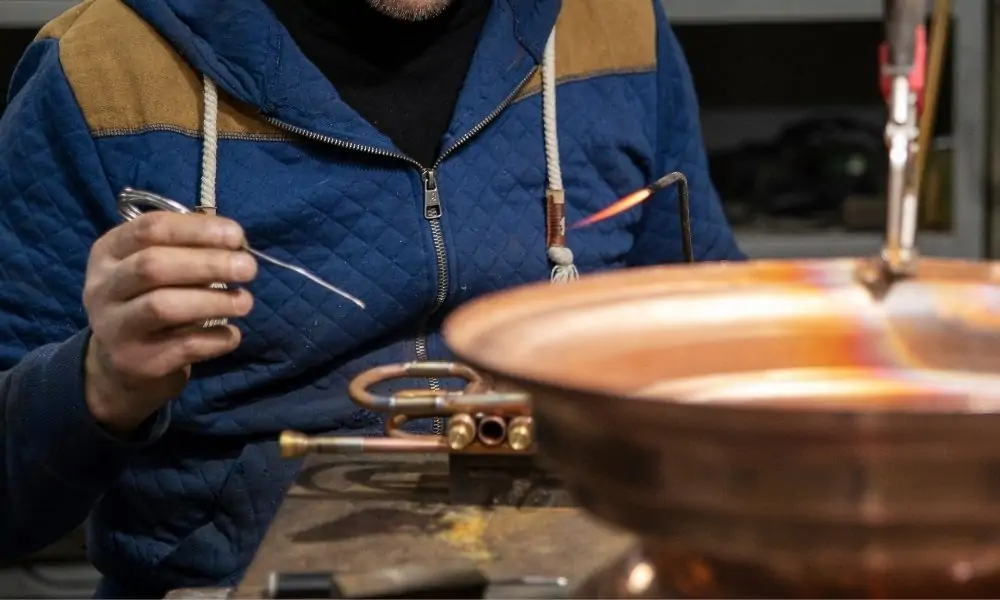
How to braze brass edges and joints
Brazing a bronze edge is the best way to finish your copper artwork, it is also the strongest way to stick on 3D elements.
Brazing, however, requires an oxy-acetylene torch, and a bit of practice. It would be good to get someone to help you to get started that knows what to do.
You should start by cutting a few practice pieces of copper to get your head around how to do it accurately. Brazing copper can be different and require a different technique than welding copper pipes. Here are some tips.
What you need to braze brass and join copper
- An oxy-Acetylene kit can be hired from a local building supplier Or you could invest in a portable oxy-acetylene kit.
- Gauges, gas hose torch, and welding mask.
- Brass Rods.
- Flux.
- Appropriate leather gloves.


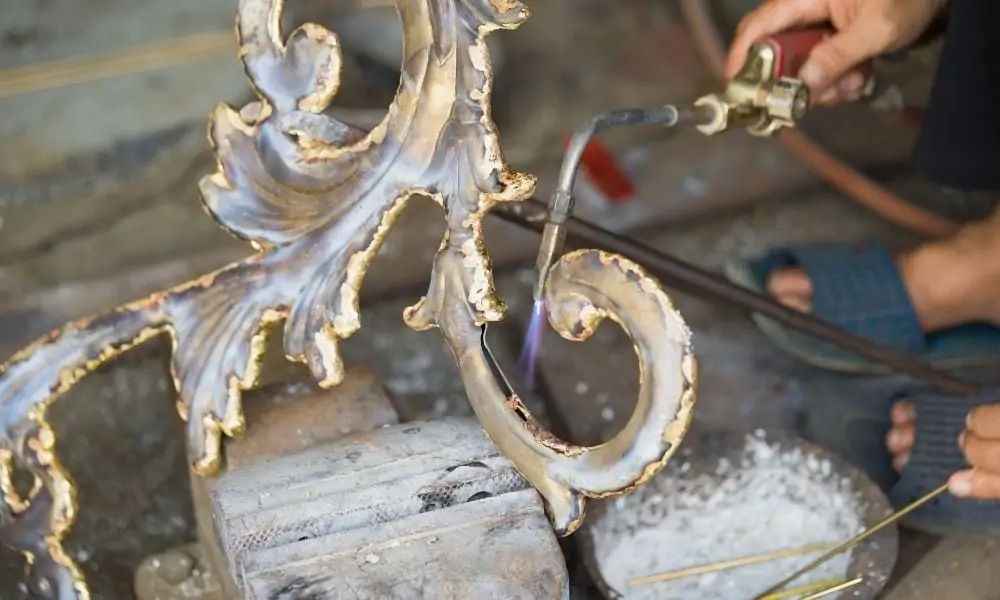
Tips for welding brass to copper
- If you haven’t done this before finding someone that has done some type of welding before and can show you how to set up a welding torch.
- With gloves and a welding mask, start to heat the copper up with the torch. You want the copper hot so that the brass will easily stick, but at the same time not too hot that the brass will spread out too far.
- Some people recommend dipping the copper rod influx to help the copper join. But it’s better to only use flux for joining elements applying the flux on the back of unseen elements.
- When the copper is hot you can place the brass rod on the edges you want to start brazing and doing so by using the gas torch. (do some practice pieces first).
- When you have gone around all the edges you can dip the brass rod in flux, to join other elements onto your work.
- Finally, give the copper a final shine and buff, especially after the welding as it would have left black burn marks that need to be cleaned off.
Solder the edges instead (Beginner method)
If it’s your first attempt to make copper art the best first choice is to use a soldering iron, it’s cheap and easy to use. You can use pop rivets to join different pieces of copper together.
This can make the whole copper art process easy enough for anyone to get into. But once you have done a few bits of work and are getting more confident you should look into improving your skills and tools by getting a brass oxy-acetylene welding kit.
Copper wire art
A copper wire art project is something you could also consider, commonly people make a copper tree with wire on wood. You can be creative and make whatever design you want.
My favorite type of copper wire art is when the copper wire, and or other materials like rocks, embed into a slice of native timber. Then use a clear resin to fill in all the wire to timber gaps. This gives a glass-like look over the top of the copper wire.
This is the easiest copper DIY project that looks cool because you also have timber. You could turn this timber with your design into something creative also like a table.
Copper pipe art
Copper pipes are also used in copper artwork for the shape of a cylinder. You can also cut a copper tube in half for a half-circle shape.
Copper tubes are best used for building an outside wind chime. Copper pipes are easy to source from your local hardware store as its commonly used for hot water piping. Simply cut a few tubes at different lengths, and hang them on a string.
For copper pipes you cannot cut them with tin snips like you can easily with copper sheets. You need to use an angle grinder or fine-tooth hack-saw works fine.
Take one step at a time.
The above examples are something you could craft if you put your mind to it.
Not everyone knows how to use the welding equipment and if you’re unable to learn to solder and pop riveting is an option.
Like every DIY task don’t think too much about what you’re unsure about instead just start doing what you can do.